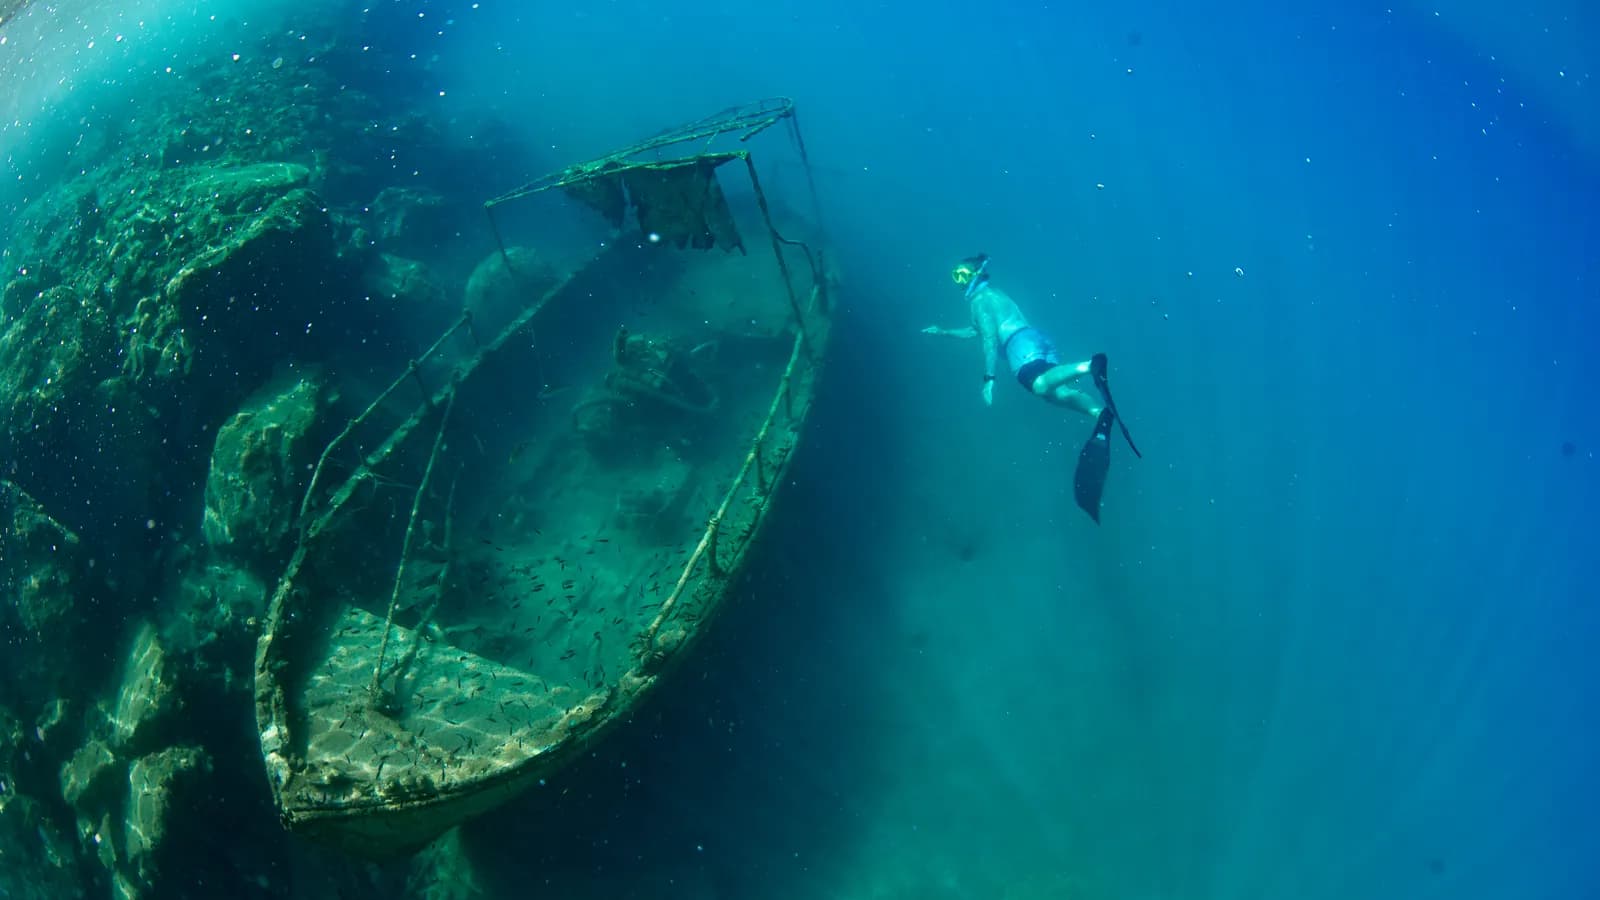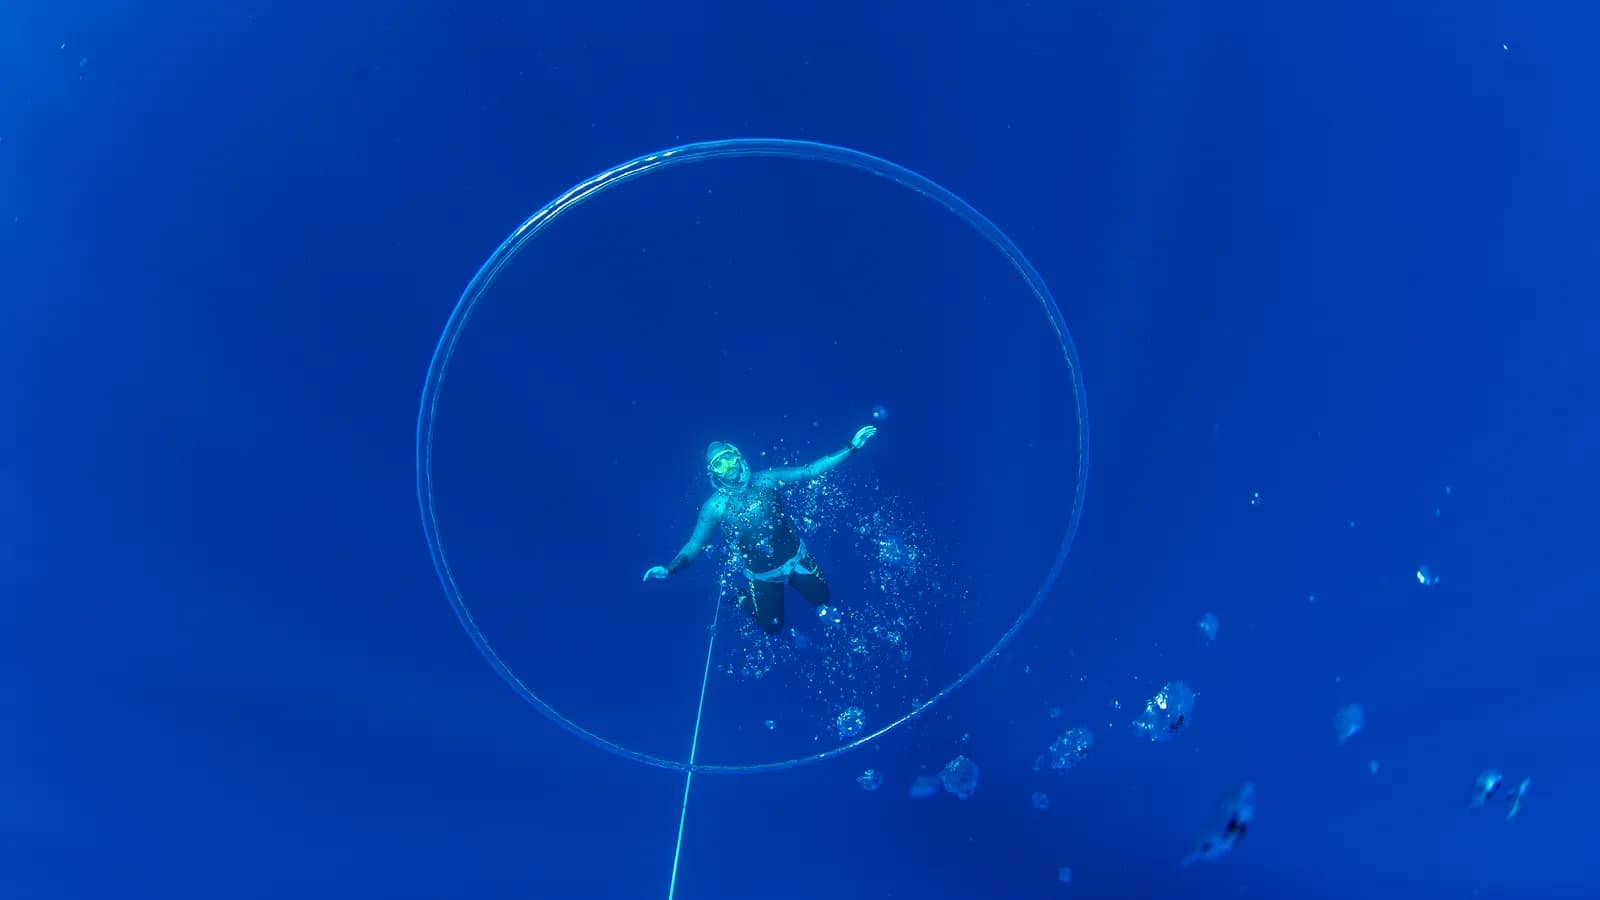
Most overlay tools ship green screen assets because chroma key is the editor default everyone already knows. For dive footage, it's the wrong tool, and the reason is specific to the environment you're filming in.
Why green screen overlays struggle underwater
Chroma key works by removing a range of colors, not one exact shade. Point it at a bright green background on dry land and that's fine, because nothing else in the shot is that color. Point it at a freediving or spearfishing clip and it's a different story: water itself sits in that same blue-green range, and so does most wetsuit neoprene. The keyer can't always tell your overlay's background from your footage's background, so you get semi-transparent icons, green fringing around the edges of numbers, or graphics that flicker in and out depending on how much ambient light is in the shot.
It's a bad match, not a bad editor. The same keying that works perfectly for a studio background fights you the moment the background is ocean.
Why Screen blend doesn't have this problem
Screen blend isn't a keyer at all. It's math. It looks at each pixel and lightens the result based on brightness, not color. A DiveHUD overlay exported on a solid black background works with this perfectly: black contributes nothing, so it drops out completely, and only the bright depth and time graphics remain. Because the blend has no opinion about color, it doesn't care that your footage is full of the same blue-green tones a chroma keyer would choke on. The result is a clean edge in every shot, regardless of water color, lighting, or wetsuit.
Turning it on
Every mainstream editor has a Screen or Lighten blend mode built in, no plugin required. We've written full step-by-step guides for the two most popular mobile editors:
- CapCut: select the overlay layer, open Splice, and choose Lighten. See how to add a DiveHUD depth or time overlay in CapCut.
- Instagram Edits: select the overlay, open the Blending tab, and choose Screen. See how to add a DiveHUD overlay in Instagram Edits.
- Premiere Pro / Final Cut Pro: select the overlay clip and set its blending mode to Screen.
- iMovie: no native blend modes, so use CapCut or a desktop editor for this step.
The workflow is the same everywhere. First generate a depth or time overlay for your dive in DiveHUD, then drop it on a track above your footage, switch the blend mode, and you're done. No keying, no green fringing, no washed-out edges.